

Quickstart
This guide will get you all set up and ready to use the Toolkit. We'll cover how to get started using one of our widgets and how to make your first request.
Prerequisites
We assume you have an Amazon Connect instance set-up and running.
Onboard the toolkit to your Amazon Connect instance
Before you can use the Toolkit you need to onboard it to your instance(s)
- From within the AWS Console navigate to the Amazon Connect console. Ensure that your region is selected.
- Click on
Add application - Set Display name & Namespace =
Toolkit - Access URL =
https://toolkit.cx.studio/ - Within
Instance associationsection assign to your instance
Grant permissions
Login to Amazon Connect and navigate to security profiles. For each security profile required, update Agent Applications and check the View box for the Toolkit
You are now ready to consume the widgets.
Create a View
Still within the Amazon Connect application, goto Flows and select the Views tab.
- Create a new view and call this 'testView'.
- From the library on the left, under general drag over application to the canvas
- Check the boxes for App Name and Path.
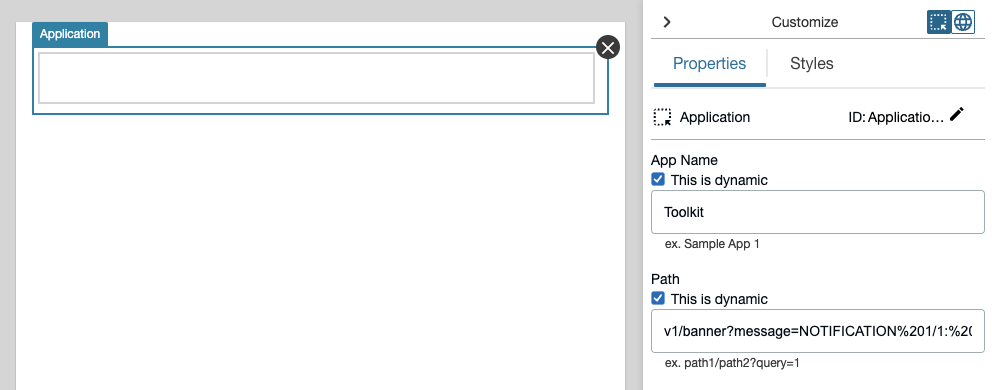
- Click on the Styles tab and set to
48px - Save and Publish
Create a flow
Now we have a View created we need to create a new flow to display this to the agent.
- Create a new flow called 'testFlow'
- Add a
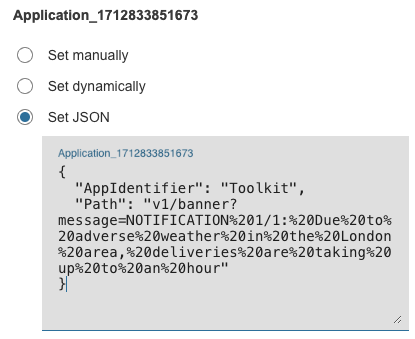
Show ViewFlow block and configure this withtextViewthen pressset JSONfor Application_00000000000 parameter, with the below JSON.
{
  "AppIdentifier": "Toolkit",
  "Path": "v1/banner?message=NOTIFICATION%201/1:%20Due%20to%20adverse%20weather%20in%20the%20London%20area,%20deliveries%20are%20taking%20up%20to%20an%20hour"
}
Example:
- Save, wire up a disconnect block, save and publish the Flow.
Testing your new View
To test your new View and the 3rd party application, update an existing contact flow and place a Set event flow block prior to transferring the contact to the queue. Select the event Default flow for Agent UI and select your testFlow. Save and Publish.
Place a VOICE, CHAT or TASK contact and your new view and scrolling banner will be presented.
What's next?
Discover the other widgets we have available or contact us if you'd like to commission custom widgets.